This week's post is from a guest blogger - Leigh Fuge - from MGR Music - and this post really contains so much awesome insight into recording guitar and how to go about capturing that awesome tone. Please enjoy!
We’ve all done it. We’ve all put on our favourite records, heard the first guitar chord and thought “Wow, how do they get that sound?!”. There are so many fantastic players out there with fantastic tones. I remember the first time I heard Led Zeppelin, the guitar tone blew me way. It was so heavy, but so clean. So distorted but with so much clarity.
When we talk about tone, of course it’s a hugely subjective topic. One mans tone may be another man’s nails on a chalkboard.
When you start playing guitar, you may have an idea of which of your guitar idols you want to sound like, but you may not have the tools at your disposal. There will come a time when you finally save up enough money to buy your dream rig. Let’s imagine you’ve got your dream amp, dream guitar and a great selection of pedals. Now what?
Well, let’s plug it all in. Do you sound great now? No? Ok… let’s think about this…
Amplifier
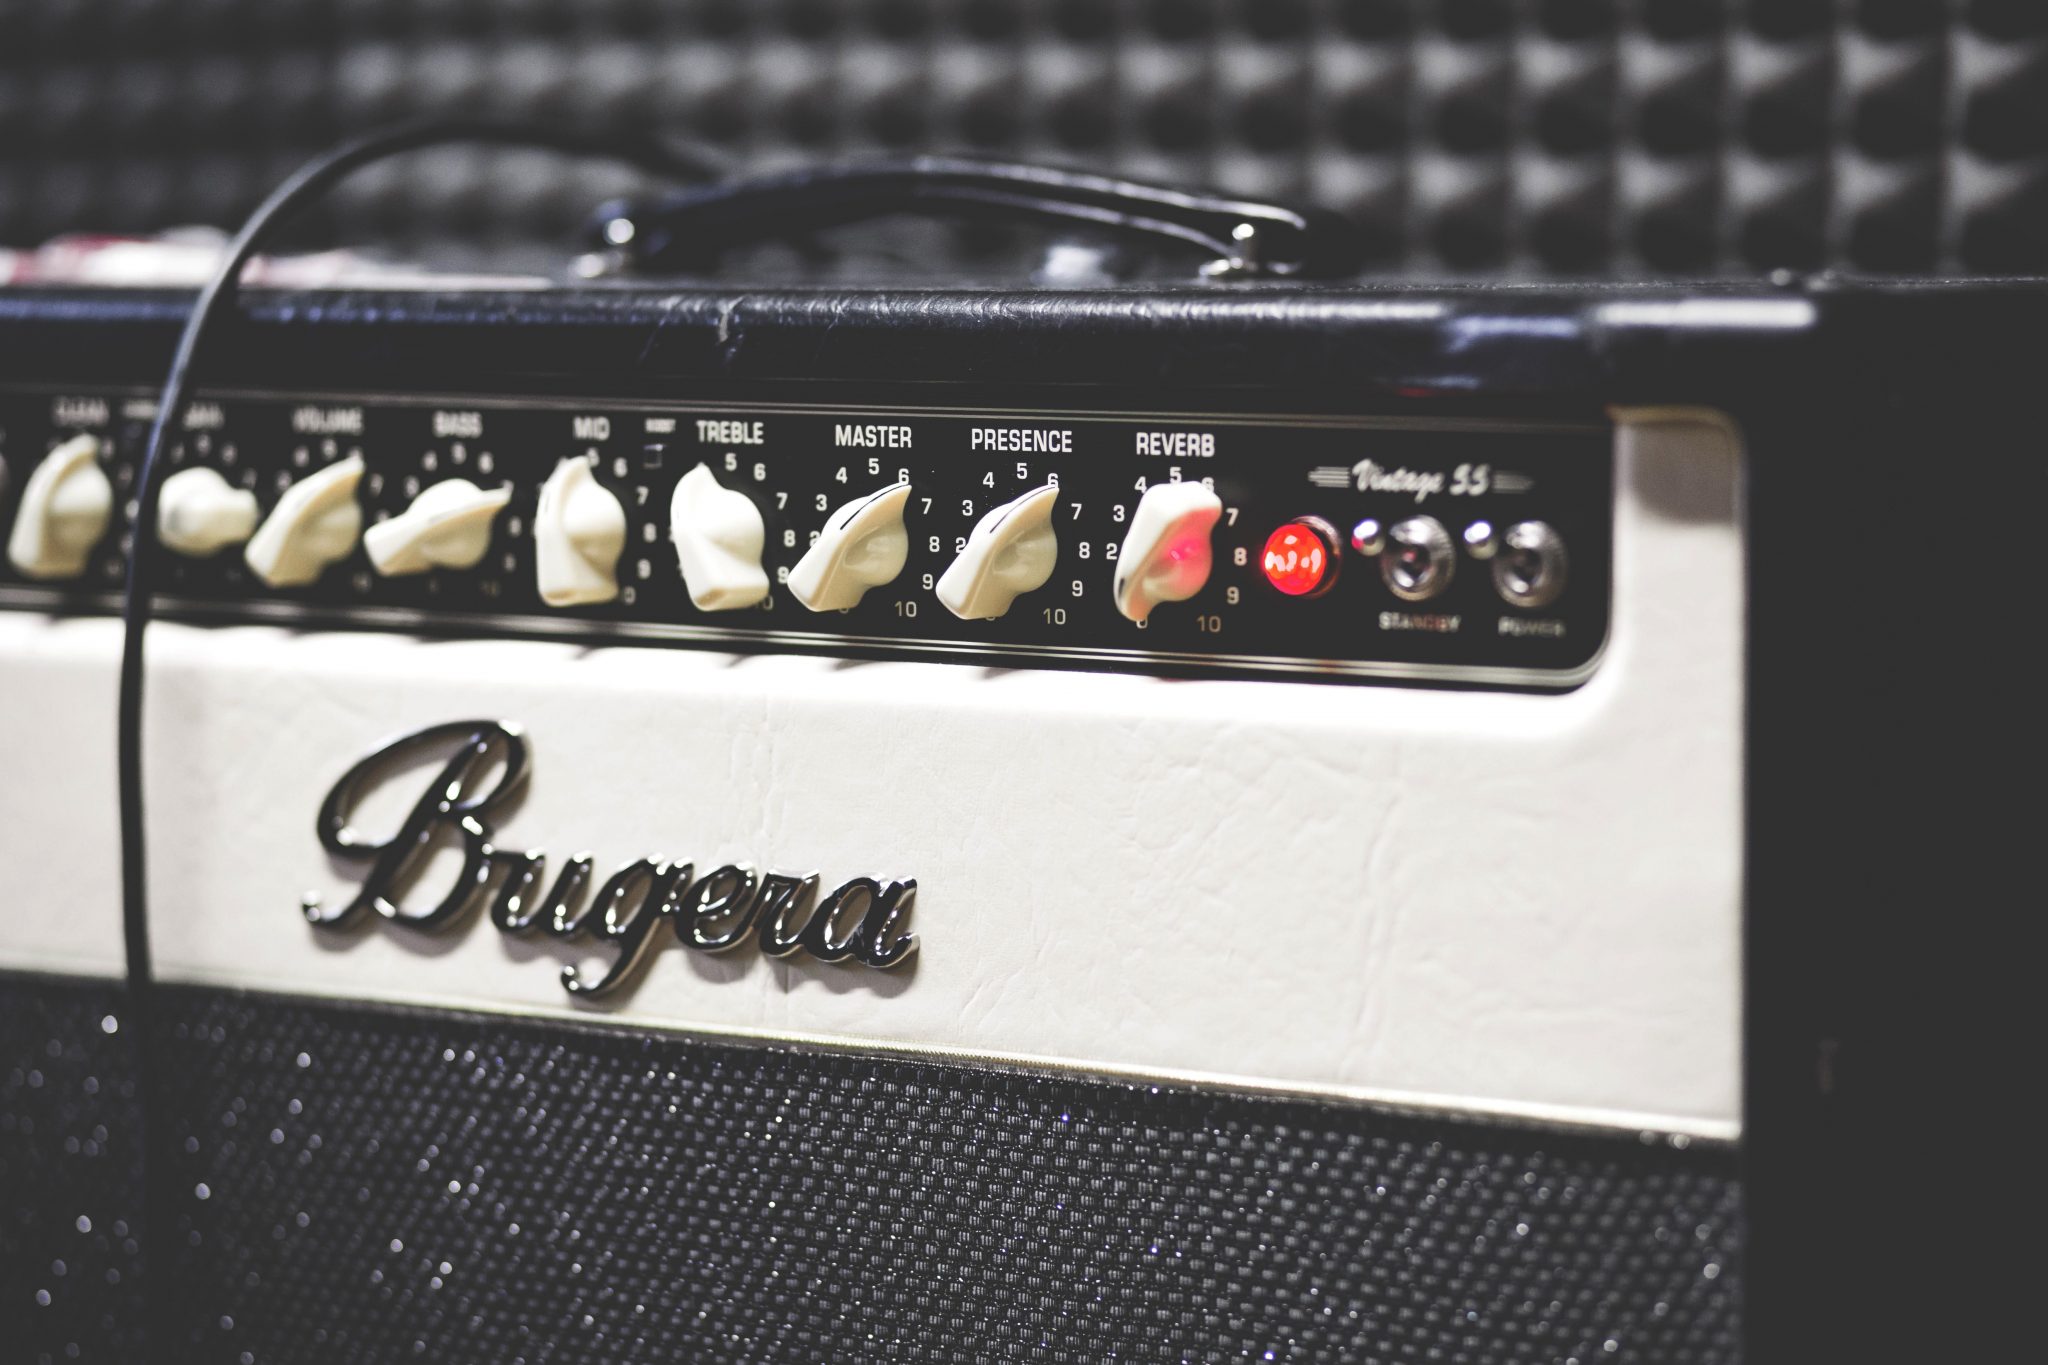
When I get a new amp, I like to find out what the amps inherent characteristics are right out the box. This allows me to then make informed decisions on how I want to set it up for me to sound like me. I always start by turning all the knobs to 12 o’clock. To my ears, for most amplifiers, this produces the most neutrally eq’d tone across the spectrum. One I hear this sound, I then think about what I want from the amp and adjust the EQ to suit. Personally, I like my amp’s to be run clean or just off clean and I get the rest of my gain from pedals. Other guitarists may want all their gain from the amp.
Guitar
Every guitar will sound different. You can drastically change your tone just by using a certain guitar. Each pickup setting will have a different voice, as will different type of pickups. If you’re trying to get a really heavy sound out of a set of single coil pickups you might fall short, likewise, if you’re trying to get a snappy, pristine clean from humbuckers you might find them too warm and overpowering. You can experiment with different guitars, pickup combinations and amp settings to achieve a vast range of tone. One aspect of the guitar tone that is always overlooked is the tone knob. Some very famous guitar tones have been created by manipulating this control. Turn the control down for a throaty, warm sound with lots of overtones. Think Eric Clapton and the “Woman Tone” (created by selecting the middle position on a twin humbucker guitar and rolling the bridge tone knob off to zero, or Slash with his smooth and creamy lead tone (Neck pickup with the tone rolled back a few notches).
A lot of old school players also ride the volume to change the sound. Set your guitar volume at 8 and craft your tone around that. If you want a lift in volume (Great for leads!), you then have 2 more notches on the volume knob to use. If you run into a distorted amp, try rolling the volume right back to 3 or 4. This will give you a cleaner sound.
Pedals
Once you’ve got your guitar and amp dialled in, you can start to experiment with pedals. When I perform, or record, I like to run my amps either clean or clean with the slightest hint of breakup. I get all my gain from pedals in various combinations. I prefer the tone shaping options available when stacking multiple gain pedals one after the other. My approach is to use overdrive and boost pedals to overdrive the front end of my amp. My go to overdrive is an Ibanez Tubescreamer or a Klon Centaur style pedal. You can set the pedal to have as much gain as you want (Within the realms of what the pedal can handle).
There are many pedals available that do a huge range of things. You can use pedals to create space and movement within your tone also. I personally really like reverb pedals. I have my favourite which I take everywhere. For me, this means that I can put any amp I use into the same “space”.

Capturing the Tone
A tone that sounds great in the room, might not transfer to recording as well as you hope. The concept is the same as when you play with other musicians. There are a lot of other frequencies flying around. If you set your amp up to sound awesome, you may find as soon as you play next to a drummer that all your high end seems to be vanishing (Creating the illusion that you’re a lot quieter than you actually are). This is because a lot of guitar players will boost their upper mids and treble, eating into the 2-6kHz region of the spectrum. This is where the drummers cymbals live and unless you’re running a VERY loud amp, the cymbals will win. The easy way to combat this is to lose some of that frequency from your tone and compensate with a little more mid. You could also use a graphic equalizer, either in pedal format or digitally in the recording process, to cut frequencies out around the cymbals.
Sometimes, the tone that sounds great in the context of a live or recorded mix, will not always sound great solo. In the mix with everything else it will sound great. This is because the tone is serving a purpose to fill a gap in the spectrum. If you find aspects of your tone as missing when you record them, this is the reason.
In the same way the cymbals will eat up your top end, you don’t want to be filling out the 60-200Hz range as this is where your bass players low end will want to be seated. You’ll run into problems very quickly when you start occupying too many other spaces with other instruments. Guitar, on record, should ideally be hitting strongly between 240Hz for some fullness and 2kHz for some bite. Anything above and below this or above this will start to get eaten up by other instruments in the mix.
How to Record Your Guitar
If you are working with a great producer and engineer in a studio they will know exactly what mic and placement to set up to capture you as you sound. If you are looking to record yourself at home, or you are learning about the recording process then a good place to start is to consider what microphone you want to use to record your guitar. Here are a few great ones to start with:
* Shure SM57 – The go to mic of live and studio engineers around the world. The SM57 is a dynamic mix that can handle large SPLs (Sound pressure levels) without clipping. It is also theorised that the mics natural 200Hz roll off works very well with use as a close mic for a guitar amp/cab. The SM57 is also very affordable and robust.
* Senheiser MD421 – This is another alternative for the 57. It has a slightly wider response meaning it will capture more highs and lows than a 57 and it has a larger diaphragm which will result in a different character when used as an off-axis mic.
* Beyerdynamic M160 – Legendary producer Eddie Kramer loved this mic. This is not a budget mic, but it is also not one that will break the bank. This is a fantastic mid-priced microphone which is perfect for the musician who is getting serious about tone and wants to invest a little in the recording process. This mic was the primary guitar mic used by Kremer when working with Hendrix and Led Zeppelin.
When I mic my amp up for recording, I like to start with the microphone pointing directly at the centre of the speaker cone and as close to the amp grill as I can get without contacting the grill. This will give the highest amount of bass response from the amp. The further the move away from the amp, the lower the bass response. Moving the microphone sideways from the speaker cone to the edge of the speaker will result in a sweep of mid-range and upper mids. The closer to the centre the more midrange you’ll hear. Some players like to angle the mic at a 45 degree angle into their preferred point of the cone. The theory here is that it will tame some of the harsh frequencies you get, especially when playing at a loud volume.
Trust your ears and experiment. There is no right and wrong way to mic the amp. You can move the mic to find your desired spot. Over the years I have found that when I’m playing a clean or slightly over driven style tone, especially using a Strat or Telecaster, I like the mic pointing at the join between the speaker cone and the centre of the speaker. If I’m recording a more overdriven part, with a humbucker loaded guitar, I will keep the mic more centred for the extra mid-range and bass response.
If you find your tone is too boomy but you have the right amount of mid-range and top end across the spectrum, simply move the microphone back an inch. This will decrease the low-end response between the speaker and microphone.
Remember, the greatest guitar tones of all time were created by trying something new. Don’t be afraid to get it wrong and don’t be afraid to put mics in places you’d never think of putting them! You’ll love hearing the difference.
About the Author
Leigh Fuge is a guitar teacher and professional musician from the UK. He has recorded in many studios with his own projects and as a working session musician. He also has his own home studio where he regularly experiments with his recording techniques. When he is not in the studio you can find him giving guitar lessons locally and writing online lessons for https://mgrmusic.com and its partners.
