Bar chords are one thing that many people get quite stuck on when progressing with the guitar. For most people it presents a bit of a wall to get over, for some, unfortunately, they just think they can’t do it, bar chords aren’t for them and they give up.
But as we know, like anything, it’s a matter of practice, and by practice I mean effective practice that is well informed.
This post brings to attention something I’m very excited about, that is the official Teach Me The Guitar Youtube Channel!! So go check it out and subscribe! Up there are the videos for Bar Chord Technique as well as a video with the Bar Chord Shapes.
So there are better ways to improve your bar chords than just “trying harder”, such as:
1: Tilt your finger
Now this doesn’t mean play with the side of your finger. But what you’ll notice is that the front of your finger is quite fleshy and also has some natural grooves, whereas if you just tilt your finger slightly you can actually get a flatter part of your finger that is a bit tougher as it’s slightly closer to the bone.
2: Practice pressing in the middle of the finger.
This one is really just effective for practicing the right form. Where most people struggle with bar chords, it’s the pressure around the B and G string on the first finger. Also, most people will be ok with pressing down the top and bottom of the finger but will struggle with the middle.
So try and intentionally press down the middle part of the first finger, and then wrap the top and bottom of the finger across the fret. In an actual song this won’t be possible but it’s very helpful in practice for getting used to how the chord should feel under your fingers to play it correctly.
3: Position your whole finger next to the fret.
The note is ALWAYS easier to play and produces a stronger sound if your fingers are just behind the fret. However, when it comes to barring, many people have the natural tendency to only do this with the top of their finger, while the bottom is back around the middle of the fret.
Be sure to check that your finger is not slanting in this way but rather is consistently just behind the fret the whole way down.
4: Hand position
Our hand can help us a lot here. By just bringing out hand slightly closer to the body of the guitar, our first finger will flatten out naturally as it needs to stretch further, while our other fingers will curve around more naturally as they are closer to their notes.
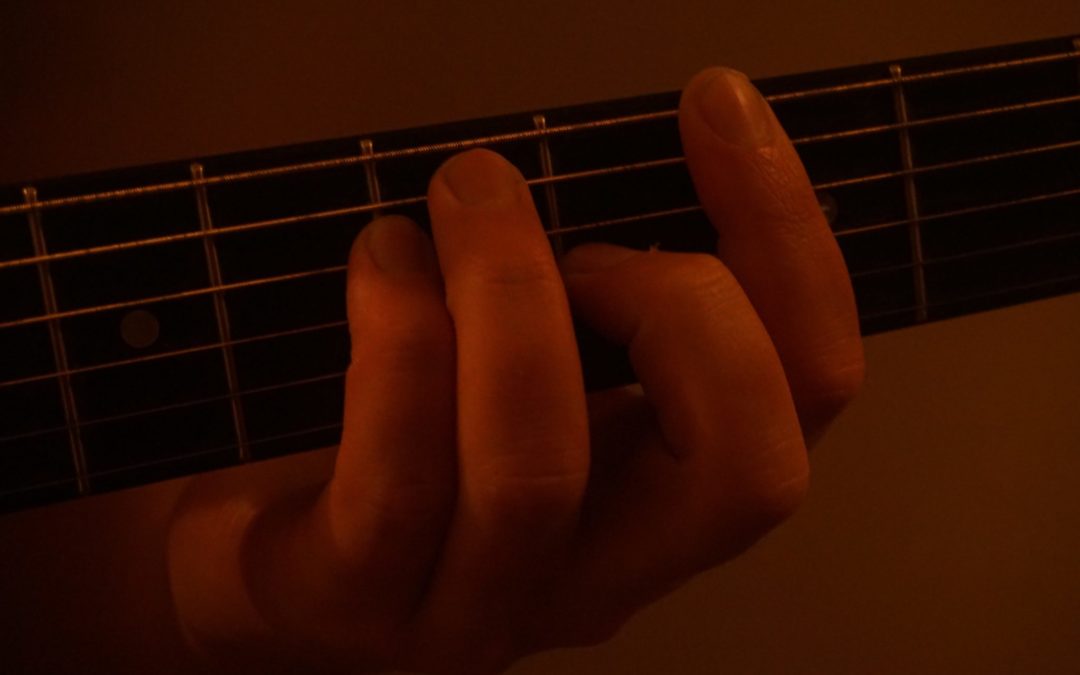
5: Thumb position
Bar chords are already hard enough to apply all the required pressure, so we need to use each part of our hand as effectively as possible. So we need to make sure to do this with our thumb. We want to press our thumb against the back half way down so that the middle of our finger has a solid support to press against. This will make it easier to keep that part of the finger firmly against the fretboard.
Thank you for reading, don’t forget to check out the accompanying videos which will really help get a better visual idea of good bar chord technique as well as the bar chord shapes and also subscribe to the TMTG official YouTube channel.
PDF for the bar chord shapes will be found here, and as usual, don’t forget to subscribe, comment, share and all contact me for any questions or enquiries. I love to hear from you!
Rock on
Paul
TMTG